If you’re planning to sell or trade in your iPhone, the first step is to make sure all of your personal data is securely wiped. Erasing your iPhone not only protects your privacy but also ensures that the device is ready for its next owner. At Gbuyback.com, we want to help make your trade-in process smooth and worry-free. This guide will walk you through how to erase your iPhone before selling it.
Why You Should Erase Your iPhone Before Selling
Your iPhone holds a vast amount of personal information—contacts, emails, messages, photos, and more. If you sell your device without erasing it properly, someone could gain access to your data. Even manually deleting files and apps isn’t enough, as some information can still be recovered.
The safest way to prepare your iPhone for sale is by performing a full factory reset, which wipes all of your data and settings.
How to Erase Your iPhone Before Selling It
Follow these steps to securely erase your iPhone before selling or trading it in:
1. Back Up Your Data
Before you erase your iPhone, make sure to back up any important data you want to keep. You can back up your data through iCloud or iTunes.
- Using iCloud: Open Settings > [your name] > iCloud > iCloud Backup > Back Up Now.
- Using iTunes/Finder: Connect your iPhone to your computer, open iTunes (or Finder on macOS Catalina and later), and select Back Up Now.
This ensures that your important files, contacts, and photos are safely stored and can be transferred to your new device.
2. Sign Out of iCloud, iTunes, and the App Store
Next, sign out of iCloud, iTunes, and the App Store to avoid any potential issues for the next user.
- Go to Settings > [your name] > Sign Out.
- Enter your Apple ID password and confirm to disable Find My iPhone.
3. Unpair Your Apple Watch
If you have an Apple Watch, make sure to unpair it from your iPhone.
- Open the Watch app on your iPhone, tap your watch, and select Unpair Apple Watch.
4. Turn Off iMessage and FaceTime
If you’re switching to a non-Apple phone, turning off iMessage and FaceTime ensures you don’t miss any text messages.
- Go to Settings > Messages and toggle off iMessage.
- Go to Settings > FaceTime and toggle off FaceTime.
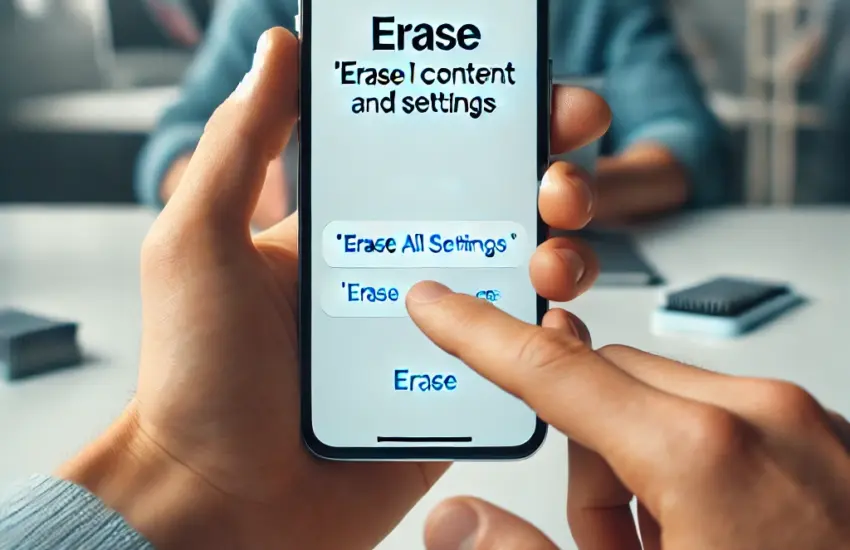
5. Erase All Content and Settings
Now you’re ready to erase your iPhone.
- Go to Settings > General > Reset > Erase All Content and Settings.
- Enter your passcode or Apple ID password, then confirm the action.
Your iPhone will now reset and erase all data, which can take a few minutes.
6. Remove Your SIM Card
Lastly, don’t forget to remove your SIM card if you plan to use it in your new phone. This will also ensure your number and carrier info aren’t left behind.
Trade In Your iPhone with Gbuyback.com
Once you’ve erased your iPhone, it’s ready to be sold or traded in. At Gbuyback.com, we offer the best trade-in prices for iPhones and make the process simple. All you need to do is get a free quote, ship your device to us, and receive your payment quickly!
We understand the value of your iPhone and ensure a fast, hassle-free trade-in experience. Whether you’re upgrading or just looking for extra cash, Gbuyback.com is your go-to solution for selling your iPhone.
Now that you know how to erase your iPhone before selling it, you can confidently sell or trade it in, knowing that your personal data is secure. Visit Gbuyback.com today to get a free quote and sell your iPhone in just a few easy steps!


